XDA Basics: How to import photos from iPhone to Mac
Whether you want to transfer your iPhone photos to Mac for editing or just safe-keeping, there are many quick and easy ways to achieve this. This article will explain some of the best ways to import photos from iPhone to Mac, including the Apple Silicon-powered MacBook Pro (2021), in just a few steps.
Navigate this guide:
- Import photos using a USB cable
- Import photos from iPhone to Mac using iCloud
- Import photos from iPhone to Mac using AirDrop
Import photos using a USB cable
You can use a USB to lightning cable and the Photos app to transfer photos from iPhone to Mac.
- Connect your iPhone to your Mac using the USB cable.
- Open the Photos app on your Mac and click on your iPhone in the left bar.

- The app will show an import screen with all the photos present on your iPhone. You may need to unlock your iPhone.

- You can select specific photos or import all iPhone photos that haven’t been imported to your Mac. In addition, you can choose the album to which you want to import the images.
- Once you have decided, select the album and click on the relevant Import button.
- The process will take some time, depending on the number of photos you are importing.
- Once done, disconnect your iPhone.
Your iPhone photos are now imported to your Mac. You can find them in the Photos app.
How to import photos from iPhone to Mac using iCloud
If you have iCloud Photos enabled on your iPhone, you can easily view or download your iPhone photos on Mac or any other device with a browser.
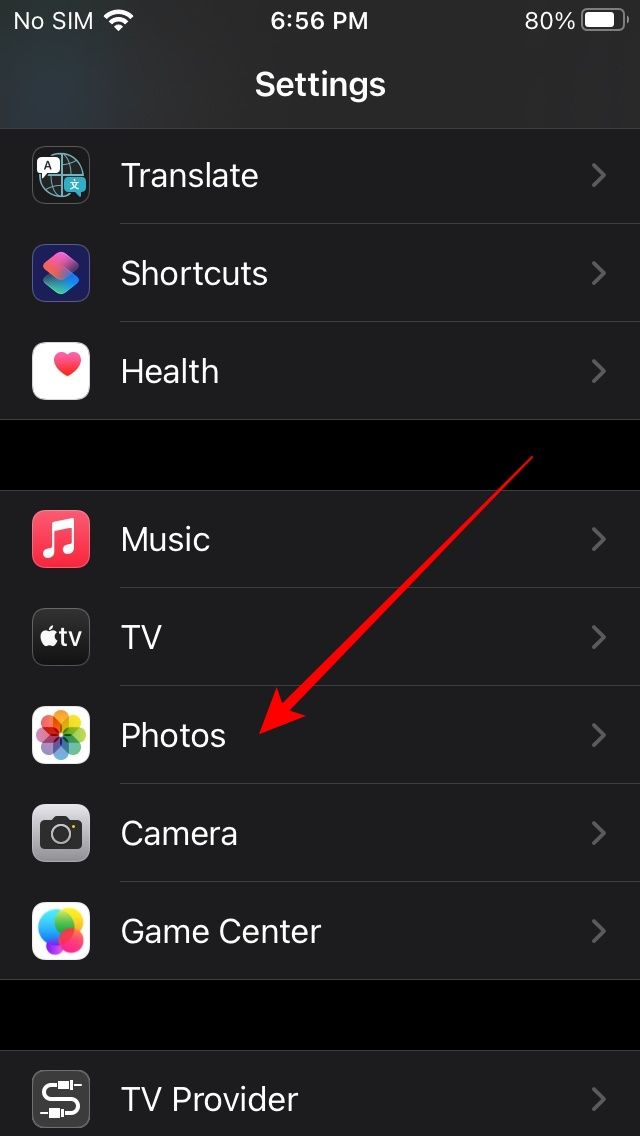
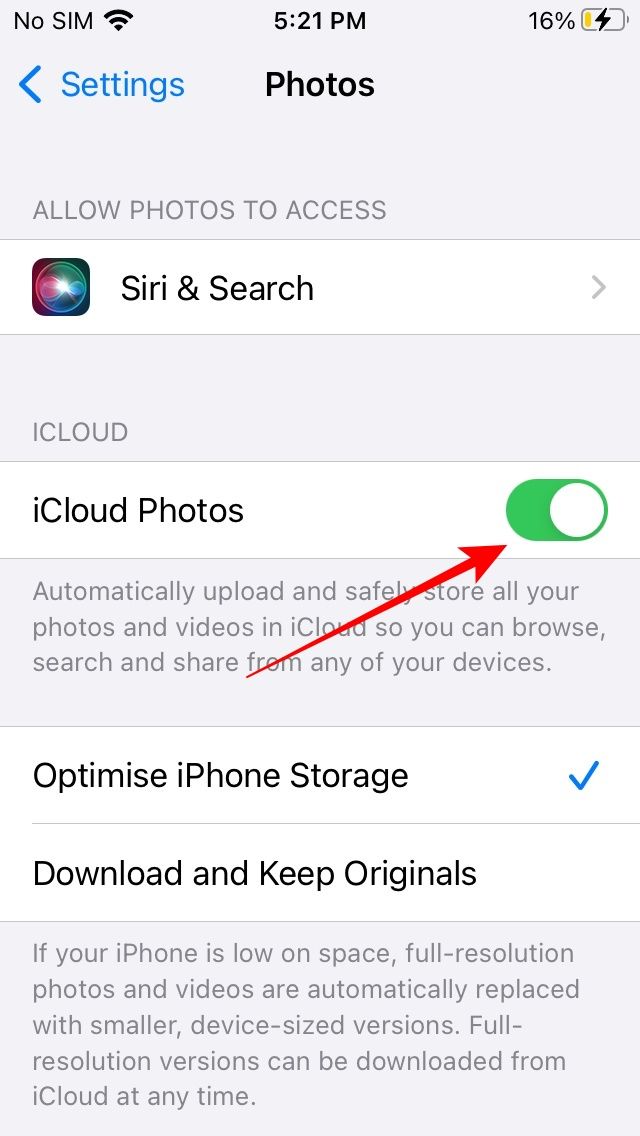
- If you haven’t enabled iCloud Photos, go to Settings > Photos on your iPhone and enable the iCloud Photos toggle. Depending on the data connection speed of your iPhone, the photos may take some time to upload to iCloud.
- Now, open iCloud.com on a web browser on your Mac.

- Click Photos, and you will see all your iPhone photos.

- You can select a few or all the iPhone photos.
- Then click on the Download icon on the top-right.
- If you have selected multiple photos, iCloud will create a compressed file and download it on your Mac. In the case of a single photo, iCloud will download the regular image file.
Your photos will now be available in the Downloads folder. If you use Google Photos or cloud storage services like OneDrive or Dropbox, you can also use that to transfer photos from iPhone to Mac similarly.
Import photos from iPhone to Mac using AirDrop
AirDrop is another great way to transfer photos from your iPhone to Mac seamlessly. However, it is best for moving a limited number of pictures as you have to select each photo manually.
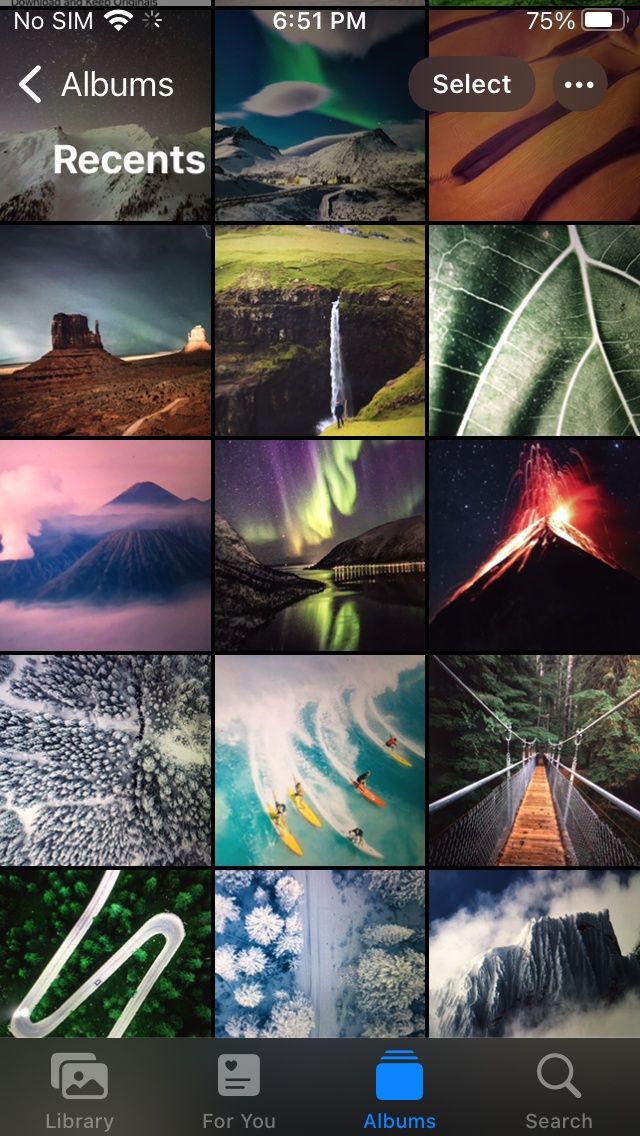


- Open Photos app on your iPhone.
- Select the photo(s) you want to transfer to your Mac.
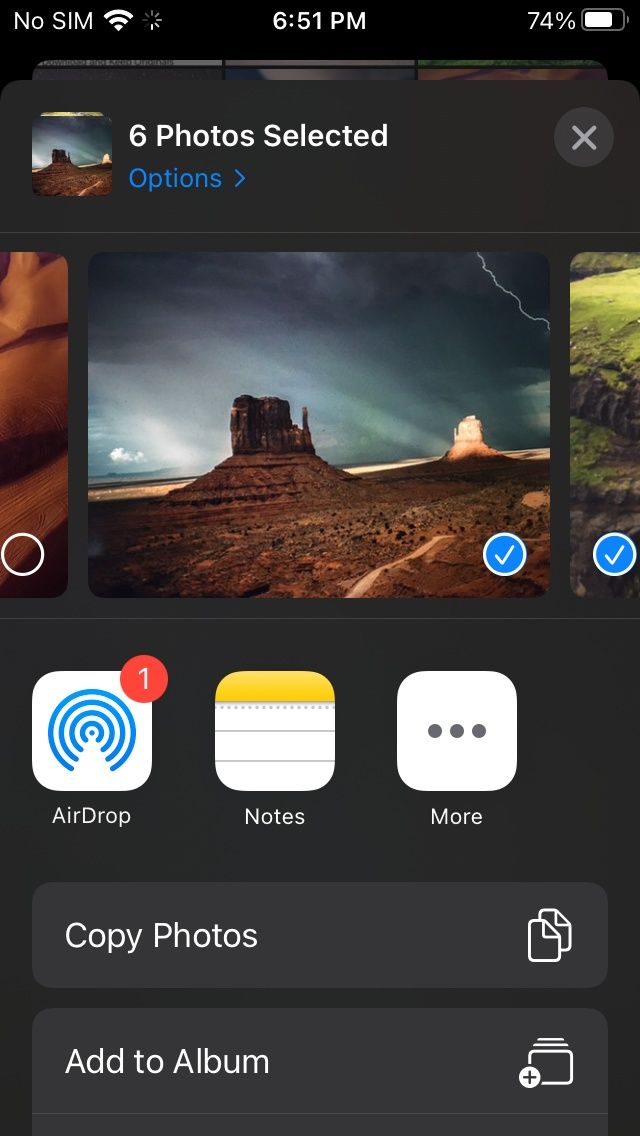
- Then tap on the Share icon on the bottom left.
- Tap on the AirDrop icon in the Share menu.
- Then, tap on your Mac on the AirDrop screen and wait for the transfer to finish.
- Once the photos have transferred, tap Done on the top right.
These are some of the best ways to transfer photos from iPhone to Mac. If you prefer another method of importing your iPhone photos, let us know in the comments section. Meanwhile, if you are in the market for a new Mac, make sure to check our updated guide on the best Macs you can buy. We also suggest grabbing a case if you are getting a MacBook to protect it.
The post XDA Basics: How to import photos from iPhone to Mac appeared first on xda-developers.
from xda-developers https://ift.tt/3GWvFvT
via IFTTT
Aucun commentaire: